I love a pecan pie, especially one with delicate, flaky pastry and a gorgeous maple syrup filling. But there is one little addition that makes this homemade pecan pie particularly special: cardamom. With a hint of vanilla, it brings a lovely gentle fragrance without overpowering the pecans.
This is a wonderful dessert for Thanksgiving, Christmas or New Year’s, but please do not save it only for a celebration. A weekend with family and friends is quite enough of an occasion to make a lovely pie.
I chop the pecans so there are little nutty bites throughout the filling, and roll the pastry thin because that is exactly how I like it. Rich filling, delicate crust, a little spice. Honestly, it is one of my favourite pies I have made.
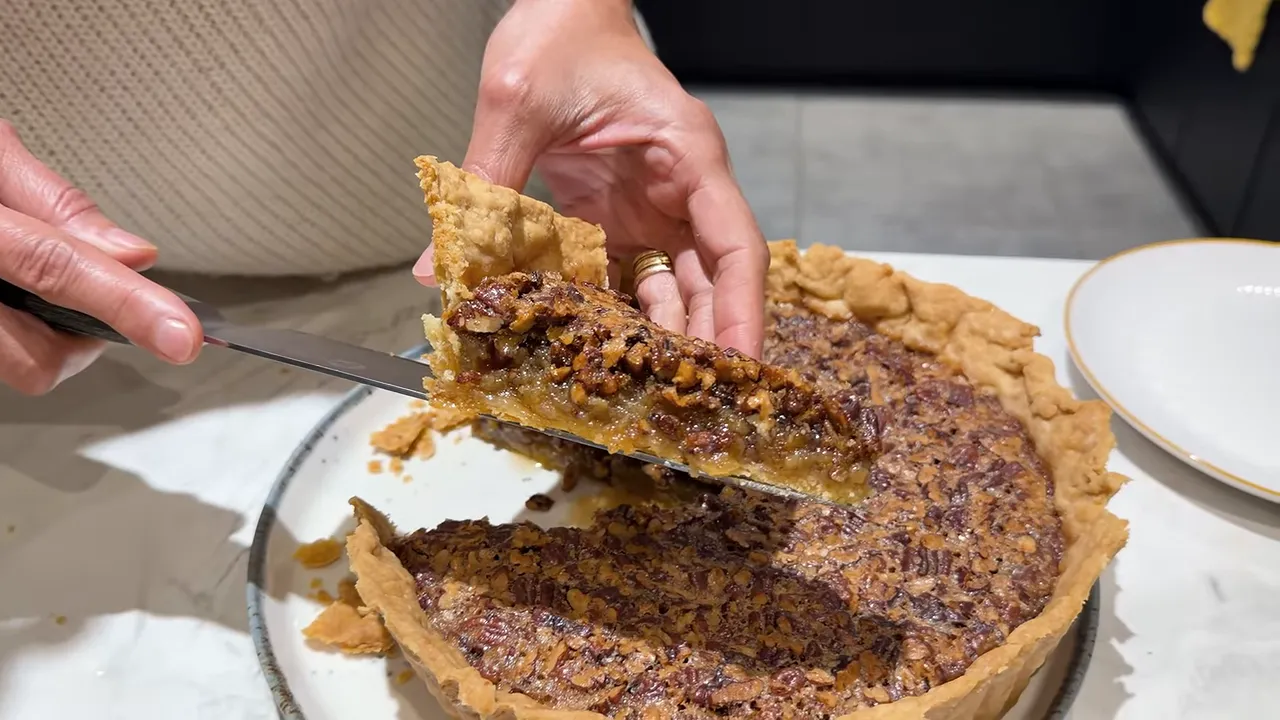
Ingredients for the Pecan Pie
Makes: one deep pie, using a tin approximately 8 to 9 inches across and 2 inches deep.
Allow: about 30 to 35 minutes for the first pastry chill, another chill while you make the filling, approximately 65 minutes for baking, and at least an hour to cool before serving slightly warm.
For the pastry
- 220 g plain flour, also called all-purpose flour or maida, plus extra for rolling
- 1 teaspoon salt
- 100 g unsalted butter, chilled and cut into small pieces
- 40 g vegetarian shortening
- 3 tablespoons cold water, added gradually
For the maple pecan filling
- 250 g golden granulated sugar, or white granulated sugar
- 50 g light brown soft sugar
- ½ teaspoon salt
- 250 ml maple syrup
- 3 eggs
- 70 g unsalted butter, melted
- 200 g pecans, chopped, or left whole if you prefer
- 10 cardamom pods, seeds removed and finely crushed
- 1 teaspoon vanilla paste
1. Make the Pastry Without Overworking It
Put the flour and salt into a mixing bowl. Add the chilled butter and vegetarian shortening, then rub the fats into the flour with your fingertips until the mixture looks like breadcrumbs.
The butter must be cold, straight from the fridge. That is important for the lovely flaky pastry we want. Cutting it into small pieces first makes it easier to rub into the flour.
I use vegetarian shortening rather than lard. I also like making this by hand rather than using a food processor, because I can feel how the mixture is coming together.
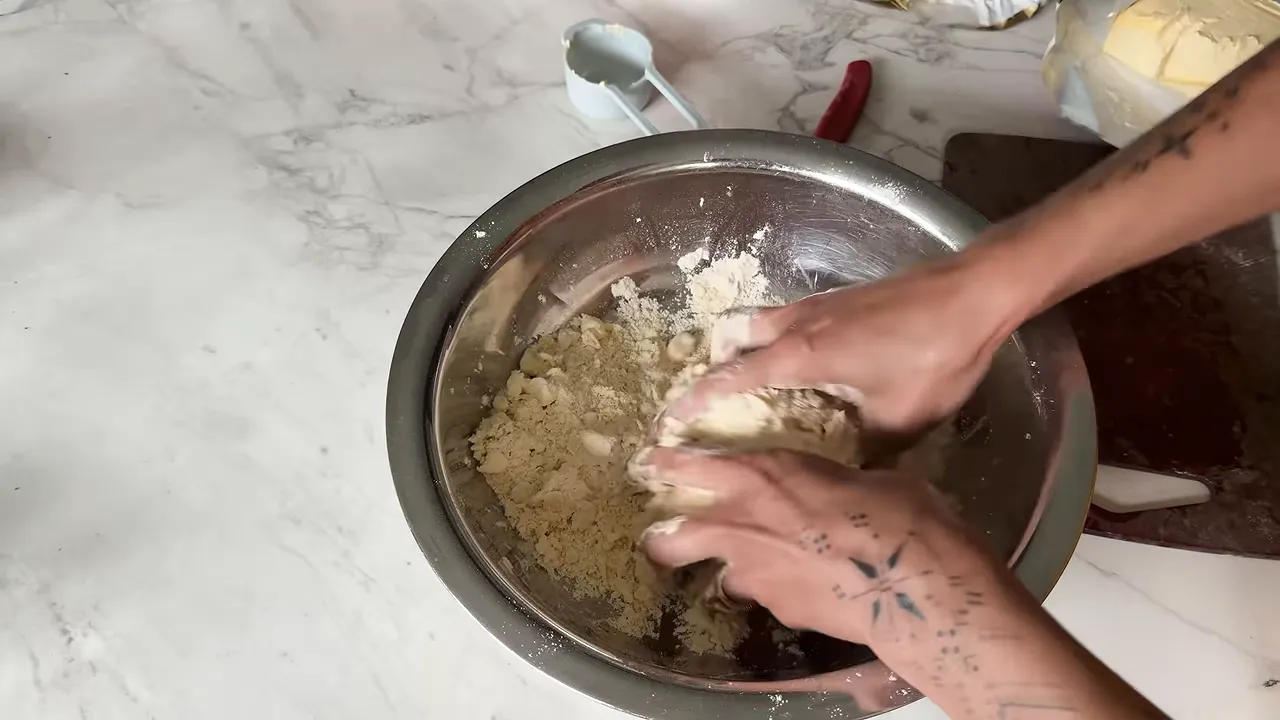
Add 2 tablespoons of cold water first and gently gather the mixture together. Add the remaining tablespoon if needed. I use 3 tablespoons in total, but do not pour it all in at once.
You are bringing the pastry into a clump, not kneading it. As soon as it holds together, stop working it.
Flatten it into a disc, wrap in cling film and refrigerate for around 30 to 35 minutes. Flattening it now makes rolling much easier later. I find this chilling time firms the pastry enough without making it too hard to roll.
If you are preparing ahead, the wrapped pastry can stay in the fridge for 2 to 3 days before you roll and bake it.
2. Roll, Line and Chill the Pie Case
Place a large sheet of baking paper on the worktop and sprinkle it lightly with flour. Unwrap the chilled pastry, set it on the paper and dust the top with a little more flour.
Roll with short, gentle movements. This gives you more control over the thickness than long, forceful strokes. Keep rolling until the pastry is large enough to cover the base of your tin, come up its deep sides and leave a little overhang.
I like a thin crust, so do not stop as soon as the pastry is just wider than the tin. Remember that you need enough to reach all the way down into the corners and up the sides.
Use the baking paper to help lift and turn the pastry into the tin, then gently peel the paper away. Ease the pastry into the base and corners.
And if it cracks? Please do not be nervous. This pastry is very forgiving. Pinch small cracks together and use little pieces of spare pastry to patch any holes. Think of them as tiny pastry plasters. Just make sure everything is sealed before the filling goes in.
Trim the excess around the rim. There is no need for a perfectly elaborate edge; I love a rustic pie. Put the lined tin on a baking tray and return it to the fridge while you prepare the filling, so the butter can firm up again.
3. Make the Maple, Cardamom and Pecan Filling
Combine the golden granulated sugar, light brown soft sugar, salt and maple syrup in a large bowl. White granulated sugar is absolutely fine here, too. I simply prefer the flavour of golden sugar.
Add the eggs and stir well, then mix in the melted butter.
Chopped pecans or whole pecans?
It is your pie, so use them the way you enjoy them. Whole pecans are an option, but I prefer to chop mine. I love getting smaller nutty pieces in each mouthful rather than biting through whole nuts.
Roughly chop all 200 g and set them aside while you prepare the flavourings.
The secret ingredient: freshly crushed cardamom
Crack open the 10 cardamom pods with a pestle and mortar. Remove the husks, then crush the seeds into a fine powder.
Stir the ground seeds and vanilla paste into the filling, then fold in the chopped pecans until everything is well combined.
Trust me on the cardamom. With the pecans, maple syrup and vanilla, it is gorgeous. The finished flavour is gentle: you can taste both the cardamom and vanilla, but neither takes over.
4. Fill and Bake the Pecan Pie
Preheat the oven to 200°C conventional or 180°C fan.
Take the pastry case out of the fridge. It should feel firm rather than soft. Give the filling another good stir, then pour it directly into the chilled, unbaked case. Spread the pecans evenly across the surface.
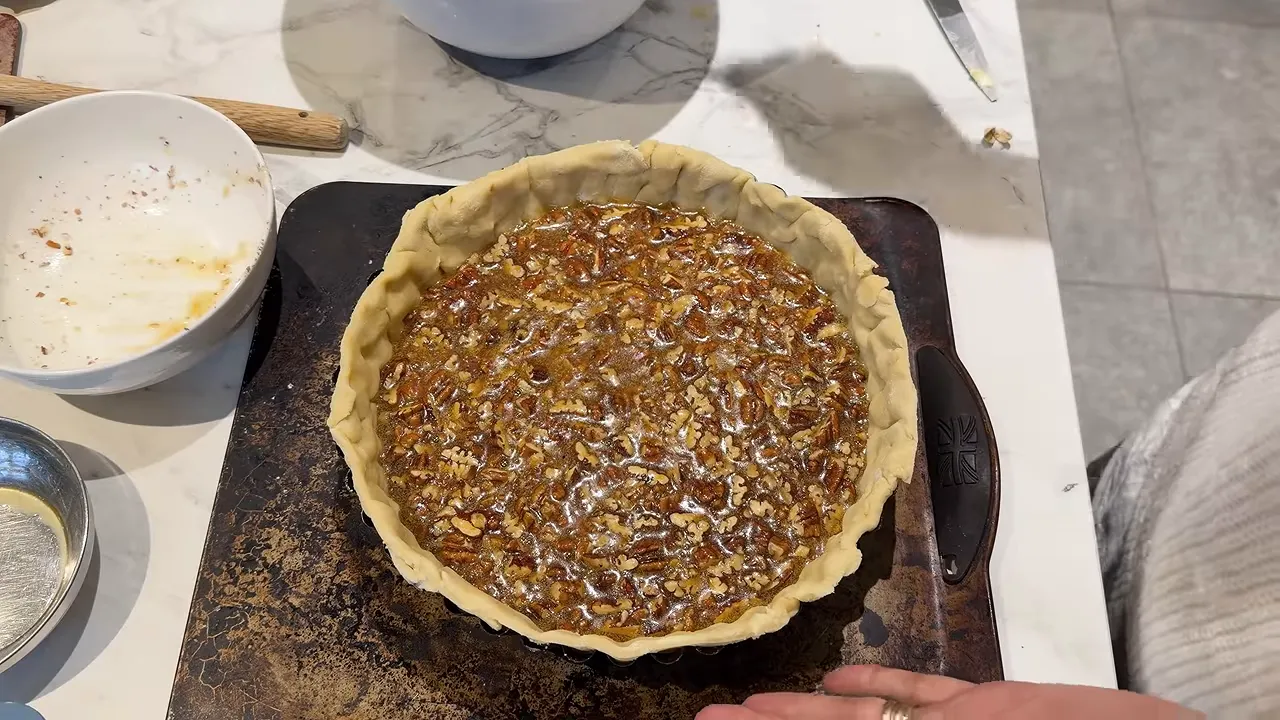
For a straightforward conventional-oven baking schedule:
- Bake at 200°C for 10 minutes.
- Reduce the oven to 170°C and bake for about another 50 minutes, checking towards the end.
- If the centre is still noticeably wobbly, give it a little longer. Mine needed a final 5 minutes, bringing the total baking time to approximately 65 minutes.
Keep an eye on the pie rather than relying only on the timer. When I first checked mine, the filling still needed more time. By the final check, the centre was set; a little movement around the surface was melted butter rather than a loose centre.
The kitchen smells absolutely incredible by this point. It does make waiting rather difficult.
5. Let It Set, Then Serve
Leave the pie in its tin to cool and settle for at least an hour before carefully removing it. I serve mine slightly warm, not piping hot, because I simply cannot resist it once the kitchen smells that good.
You can allow it longer to set if you prefer a fully cooled pie. Be gentle when removing the tin and transferring it to a plate: the pastry is deliberately thin and delicate.
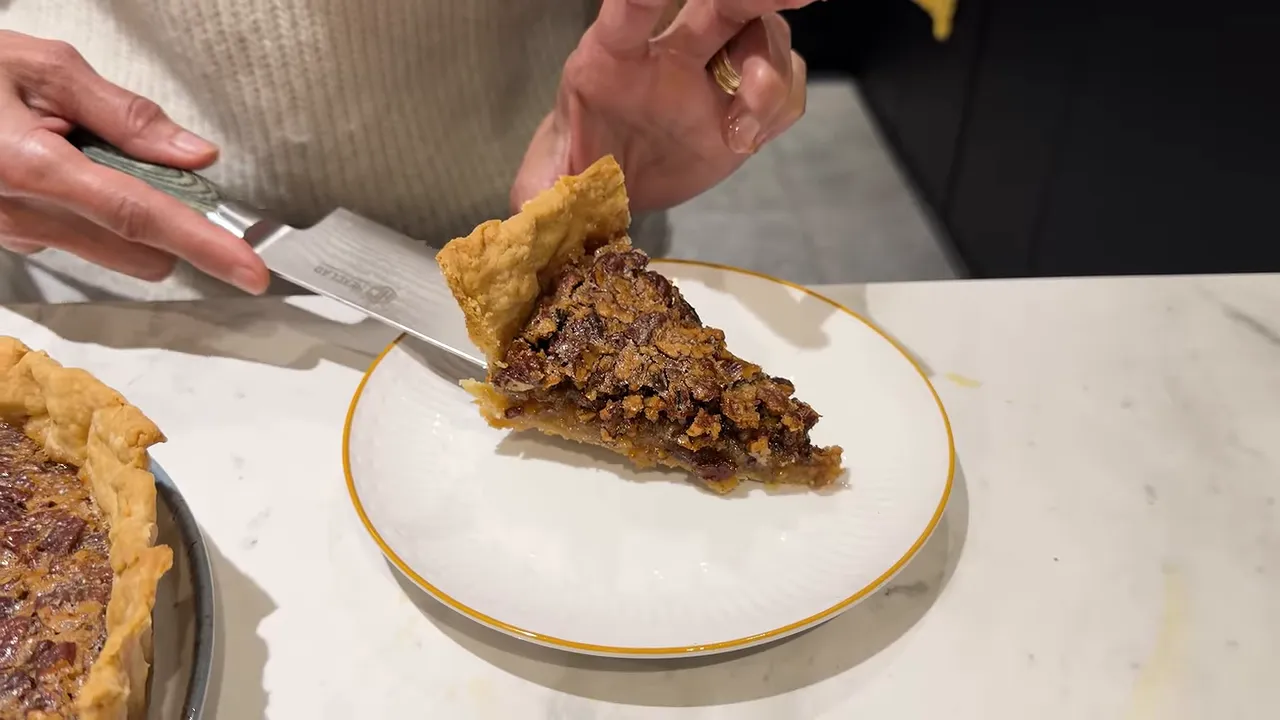
Double cream, whipped cream or ice cream would all be lovely alongside a warm slice. I would skip an extra caramel sauce, though. There is already plenty of rich, caramel-like sweetness in that maple filling.
For me, it needs nothing at all. The flaky pastry, chopped pecans and gentle cardamom and vanilla are superb on their own.
My Most Important Pastry Tips
- Start with chilled butter. Keep it cold when making the pastry, then chill the lined case again before filling.
- Add water gradually. You only need enough to bring the crumbs together.
- Do not knead. Gather and press the dough together, then stop.
- Use short rolling movements. Aim for an even, thin crust that is large enough for the deep tin.
- Patch cracks rather than starting again. A rustic finish is lovely, but holes need sealing to hold the filling.
If you would like more help with shaping and handling pastry, King Arthur Baking’s pie baking guide is a useful reference.
This is a special-occasion dessert that deserves to be made more than once a year. A thin, flaky crust, plenty of pecans and that little cardamom surprise. Such a gorgeous combination.


